


Keeping patients and staff safe from the risks of cross-contamination and cross-infection hinges on strict compliance with infection control best practices–especially during instrument reprocessing. Unfortunately, many sterilization-related activities that are common in the dental office are not necessarily the correct ones, creating the misconception that the “routine” way and the “right” way are one in the same.
Below are the top 10 sterilization-related activities in which what is commonly practiced is very different from what should be practiced. How does your dental office compare?
| ACTIVITY | COMMON PRACTICE | BEST PRACTICE |
|---|---|---|
| 1. Transport of instruments after procedure | Transport soiled instruments to the reprocessing area on an open tray. | Transport soiled instruments in a sealed container identified with a bio-hazard symbol. |
| 2. Manual cleaning of instruments | Use a standard procedure for cleaning instruments. | Have and follow each device manufacturer’s cleaning instructions for use regarding water type, water temperature, detergent and brush type. |
| 3. Ultrasonic cleaning | Run the sonic for a short amount of time, e.g., 2-5 minutes. | Follow each device manufacturer’s instructions for use regarding length of time. |
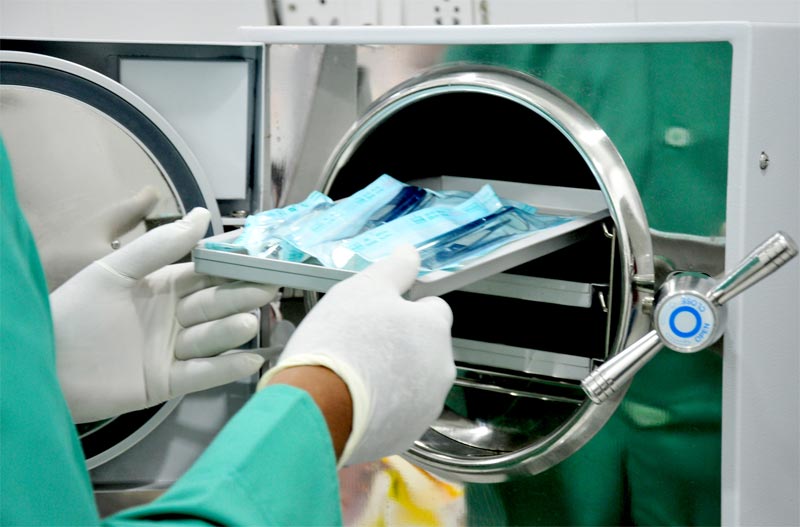
| 4. Packaging | Use a single layer of disposable wrap. | Use two layers per wrap manufacturer’s clearance and instructions for use to ensure items remain sterile until point of use. |
| 5. Packaging | Place sterilization pouches flat on the autoclave tray, paper side up or plastic side down. | Place pouches on edge facing the same direction to allow for sterilant penetration and complete drying. |
| 6. Sterilization | Run the shortest-programmed cycle on the autoclave. | Have and follow each device manufacturer’s instructions for use regarding sterilizer type and cycle parameters. |
| 7. Sterilization | Remove packaging from the autoclave at cycle’s end, even if it’s wet. | Reprocess packages that are visibly wet, ensuring the autoclave is not overloaded and that the proper drying time is being used. |
| 8. Sterile storage | Store sterile packages near sinks and/or in high-traffic areas. | Place sterile packages in a separate, environmentally-controlled area away from sinks, floors, walls, and ceilings to reduce potential for contamination. |
| 9. Quality assurance | Run a biological indicator test once a month. | Run a biological indicator test weekly, with any load that contains an implant, and three consecutive times after a failure. |
| 10. Quality assurance | Run the biological indicator test in an empty autoclave. | Run the biological indicator test in the center of the load that is representative of what is being routinely processed. |


